Article
Webflow Slider: build a native carousel or one linked to the CMS
Webflow9 min read

James BrunettoCo-fondateur & CEO
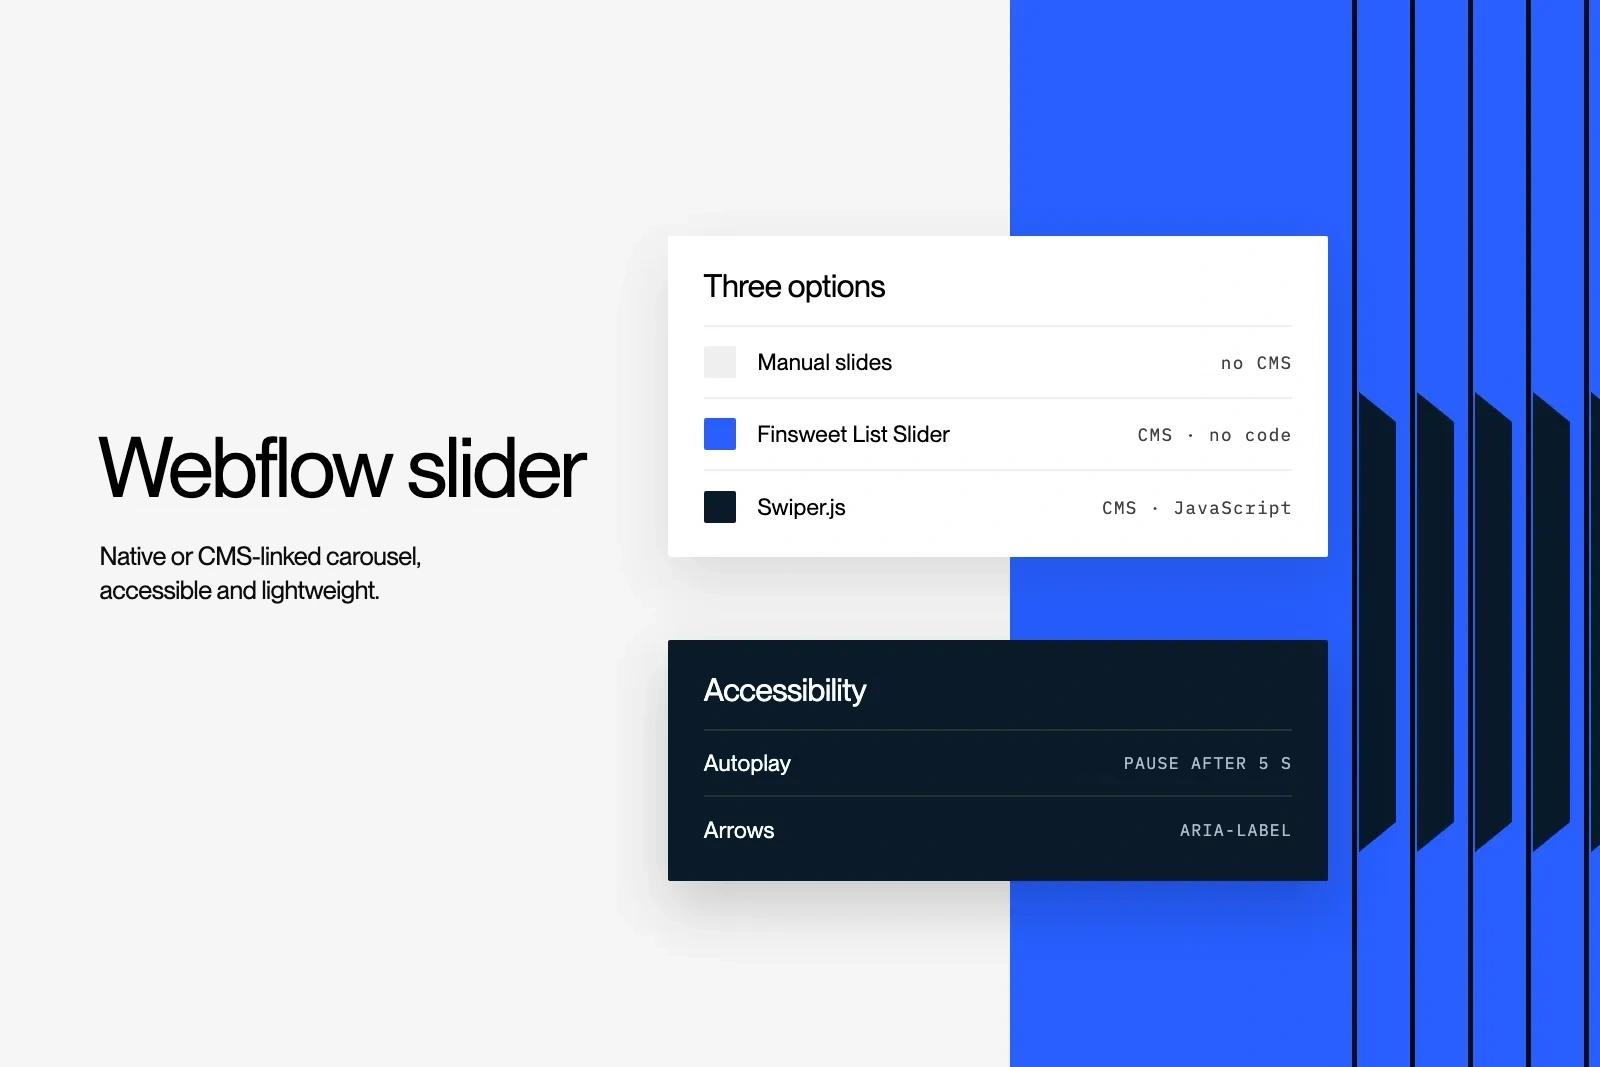
Webflow's native slider takes a few minutes to set up, but it does not connect to the CMS. Here is how to configure it, the two ways to build a dynamic carousel, and the cases where you are better off without one.
Explore this post with…
In short: Webflow's Slider component handles arrows, navigation dots, mobile swipe and autoplay without a line of code. Its limit: it does not connect directly to a CMS collection. For a testimonial or article carousel that updates itself, you use Finsweet Attributes (free) or the Swiper library. Our take: a slider at the top of a home page rarely helps conversion. Keep it for testimonials, galleries and client logos.
Before you start
This guide is written for Webflow beginners. Three words come up often, so here they are:
- The Designer is Webflow's visual editor, where pages are built.
- The Navigator is the page tree in the left bar (shortcut: Z). It is the easiest place to select a slide or an arrow.
- The CMS is Webflow's database: articles, testimonials, case studies. A "Collection List" displays that content on a page.
You need Designer access to the site. For the Finsweet or Swiper method, you also need a paid site plan, because it requires custom code.

How the native Webflow slider works
The Slider is added from the Designer's Add panel. It comes with four nested elements:
- The Mask, the visible window that holds the slides.
- The slides, one panel per slide, where you place text, images or buttons.
- The left and right arrows, which are buttons: a custom icon goes inside.
- The dot navigation, which shows a "current" state on the active slide.
Settings live in the element's Settings panel: animation type (slide or fade), easing, transition duration, autoplay with its interval, and infinite loop. Touch swipe works natively on mobile.
Build a slider in 5 steps
- Add the Slider to a section and give the mask 100% width at every breakpoint.
- Set a height or a minimum height. Without one, slides of different heights make the layout jump.
- Fill each slide with a flex or grid container rather than absolutely positioned elements.
- Tune the animation. A short transition and a soft easing are enough. Turn off autoplay if the slides contain text to read.
- Check responsive behaviour. On mobile, arrows are often hidden and swipe does the job. Our Webflow responsive design guide covers breakpoints in detail.

If the same carousel appears on several pages, turn it into a Webflow component: one change updates it everywhere.
Basic moves in the Designer
The slider is confusing at first: you only see one slide at a time, and autoplay does not run in the editor. Here is how to do the four most common tasks.
Switch slides to edit them
Click a slide in the Navigator and the Designer shows it. You can also click the navigation dots directly on the page. Then drag text, images and buttons into the visible slide, as in any section.
Add or delete a slide
Select the slider, open the Settings panel (shortcut: D) and click Add Slide. To delete a slide, select it in the Navigator and press Delete.
Use an image as a slide background
Select the slide, open the Style panel (shortcut: S), go to Backgrounds and add an image. Set it to Cover so it fills the slide without distortion.
See autoplay in action
Autoplay does not run while editing. Click the eye icon at the top of the screen (Preview mode) to see the slider as a visitor would, then go back to editing.
Linking a slider to the Webflow CMS
This is the most common question. The native slider cannot be fed by a Webflow CMS collection: its slides are fixed and filled in by hand. There are three options.
| Option | Linked to the CMS | Code to write | Best for |
|---|---|---|---|
| Manual slides | No | None | 3 to 5 items that rarely change |
| Finsweet Attributes, List Slider | Yes | Attributes, no code | Testimonials, case studies, articles |
| Swiper.js | Yes | JavaScript | Custom carousels, several visible slides |
Finsweet Attributes, the no-code route
Finsweet's List Slider solution turns a Collection List into a native slider: each CMS item becomes a slide. You add the attribute fs-list-element="list" to the Collection List, fs-list-element="slider" to the Slider, and the Attributes script once in the page head. It is free, and the slider keeps all its native settings.
Step by step, for a first setup:
- Prepare the Collection List. Add a Collection List linked to your collection (Testimonials, for example) and fill one item with the fields you want: name, text, photo.
- Add a Slider right next to it, in the same section.
- Set the first attribute. Select the Collection List, open Settings, Custom attributes, click "+" and enter fs-list-element as the name and list as the value.
- Set the second. Select the Slider, same section: fs-list-element as the name, slider as the value.
- Add the script. Copy the script from the List Slider page on Finsweet's site and paste it into the page settings, Custom code, Inside head tag.
- Publish and check. The carousel only fills up on the published site, not in the Designer.
Swiper.js, the custom route
Swiper is a widely used JavaScript library. You build a Collection List with the structure Swiper expects, then initialise it with a few lines of code. You get what the native slider does poorly: several visible slides at once, free scrolling, different behaviour per screen size. Custom code requires a paid site plan. For more advanced animation, see also our article on GSAP in Webflow.
Accessibility and performance
A badly configured carousel gets in the way of some visitors and can slow the page down.
- Autoplay must be stoppable. WCAG rules require that content moving on its own for more than 5 seconds can be paused. Without a pause button, turn autoplay off.
- Arrows need a label. Add an explicit aria-label ("Next slide") through custom attributes.
- Motion can be reduced. Respect the system's "reduce motion" setting, especially for long transitions. Our web accessibility guide covers the requirements.
- Images get compressed. Every slide adds its images to the page weight. A carousel of 8 heavy visuals hurts load time.
- The top of the page stays light. If the first slide is the largest element on screen, it sets your LCP, one of the Core Web Vitals.

Common problems and fixes
The slider does not move
In the Designer, that is normal: autoplay only runs in Preview mode or on the published site. If nothing moves online either, check that autoplay is ticked in Settings and republish.
The arrows have disappeared
Often they are there but invisible: a white icon on a white background, or arrows hidden on mobile. Select them in the Navigator to find them, then change their colour in the Style panel.
The page jumps when the slide changes
The slides are not the same height. Give the slider a fixed or minimum height in the Style panel.
Images are cropped or distorted
For a background image, choose Cover and adjust the position (centre, top). For a regular image, set its width to 100% and its height to Auto.
The Finsweet carousel stays empty
Check the exact spelling of both attributes, that the script is on the page, and that you are looking at the published site. The Designer does not show the result.
Do you really need a slider?
Often, no. At the top of a page, nothing guarantees the visitor will see the second slide, and a message that changes every few seconds is hard to read. A clear promise, a proof point and a button do the job better.
Sliders still earn their place in three cases: client testimonials, project galleries and logo walls. To add movement without a carousel, scroll-based Webflow animations are often a better option.
Where to start
- For 3 to 5 fixed items, the native slider is enough. Set a height and turn off autoplay on text slides.
- For a CMS-linked carousel, start with Finsweet List Slider. Move to Swiper if you need several visible slides.
- Check accessibility and image weight before publishing.
Would you rather have a team design clean, reusable components for your whole site? See how our Webflow team works.
Frequently asked questions
In the Designer, open the Add panel and drag the Slider element into a section. Fill in each slide, then set the animation, duration and autoplay in the element's Settings panel.