Article
Webflow Forms: build them, connect your CRM and stop spam
Webflow11 min read

James BrunettoCo-fondateur & CEO
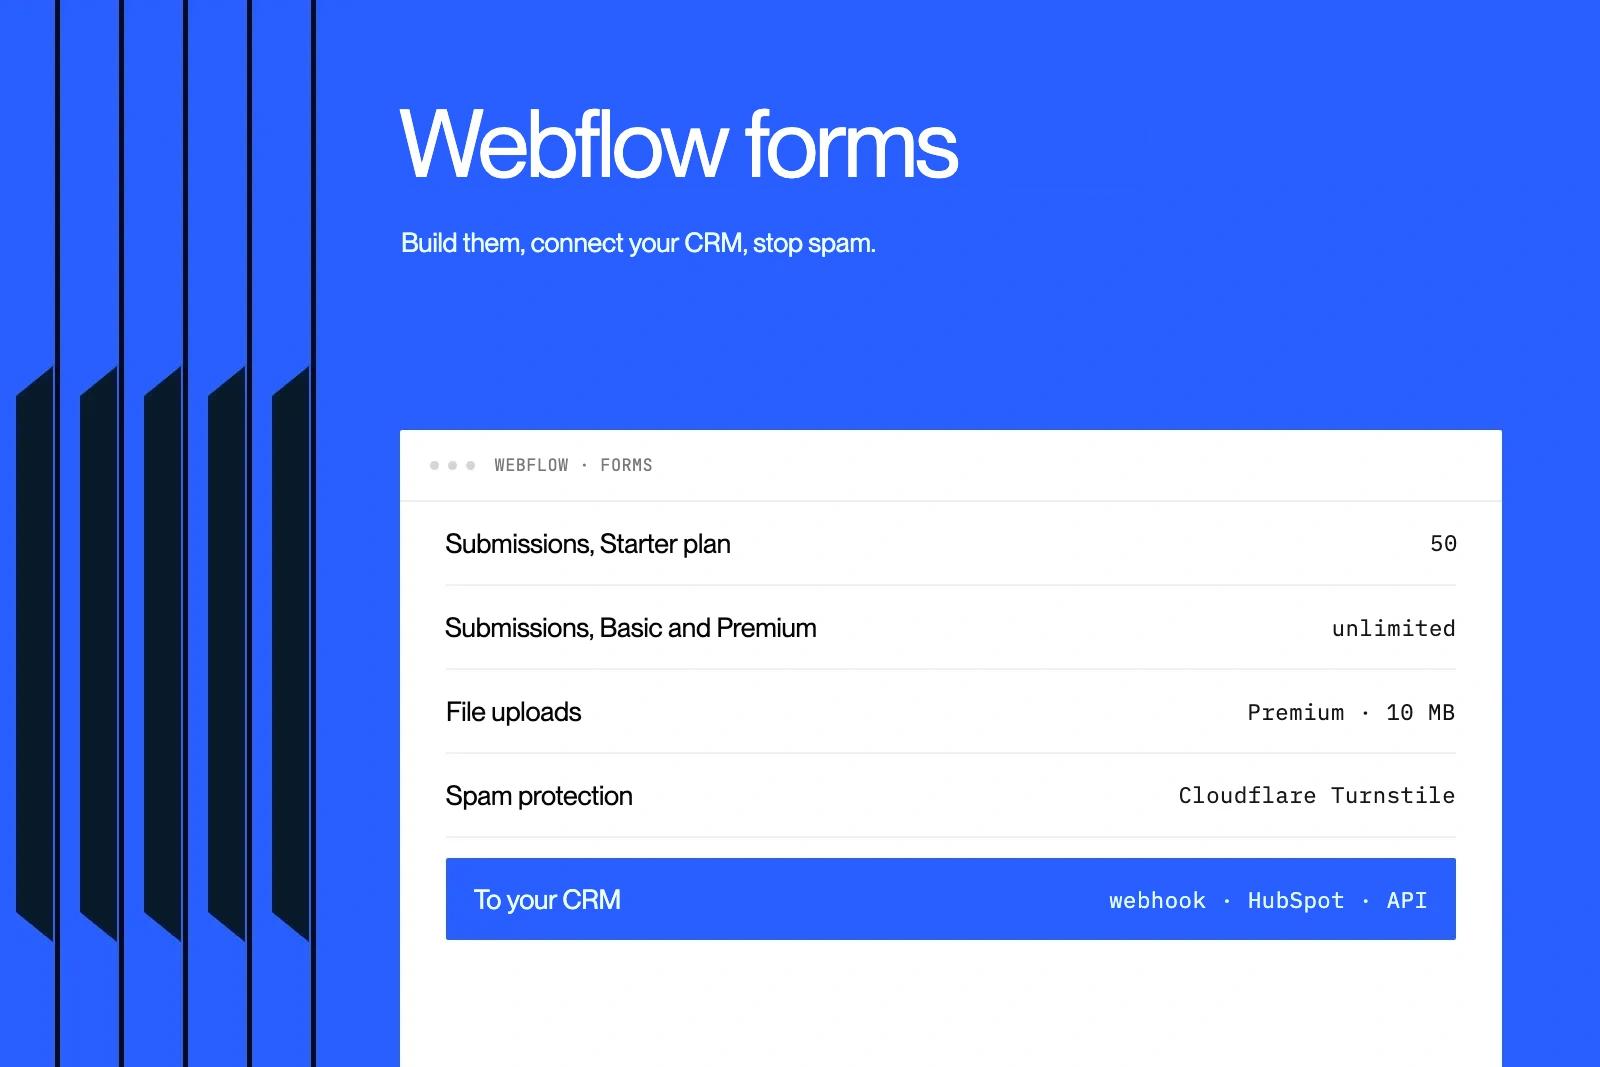
A Webflow form takes a few minutes to build with the Form block, but your plan, your CRM connection and your spam protection decide what it actually brings in. Here are the exact limits, three ways to send leads to a CRM and the settings we apply on every B2B site.
Explore this post with…
In short: a native Webflow form is enough for most B2B sites. The free plan caps you at 50 submissions, the Basic plan makes them unlimited, and only the Premium plan (formerly CMS) accepts file uploads, up to 10 MB. Our take: keep the native form, connect it to your CRM and turn on Cloudflare Turnstile the day you launch. An embedded form from a third-party tool rarely does better and often slows the page down.
Before you start
Never built a form in Webflow? No problem, this guide starts from zero. You need three things:
- Designer access to the site. The Designer is Webflow's visual editor, where pages are built. Editor mode, which is for text only, cannot add a form.
- An email address to receive requests. Ideally a named address (firstname@company.com): generic addresses like info@ or contact@ get filtered more often.
- A published site. A form only works on the live site, including the .webflow.io staging address. It sends nothing from the Designer.
Allow 15 minutes for your first contact form.

How a Webflow form works
In the Designer, the Form block is added from the Add panel. It holds three elements: the form itself, a success message and an error message. Every field (text, email, dropdown, checkbox, radio button) is styled like any other element on the page.
On submit, Webflow stores the response in the site settings, Forms tab, and sends a notification email to the addresses you chose. Responses can be exported as CSV. No code needed at this level.
Three settings matter from day one:
- The name of each field. It is what lands in the email, the export and the CRM. "Email" beats "Field 2".
- The name of the form. It tells a contact form apart from a demo request in your reports.
- The success message. It confirms the submission, and it is also what we use to measure conversions.
Build your first form, step by step
Here is the full path, click by click. Webflow menus are named as they appear in the interface.
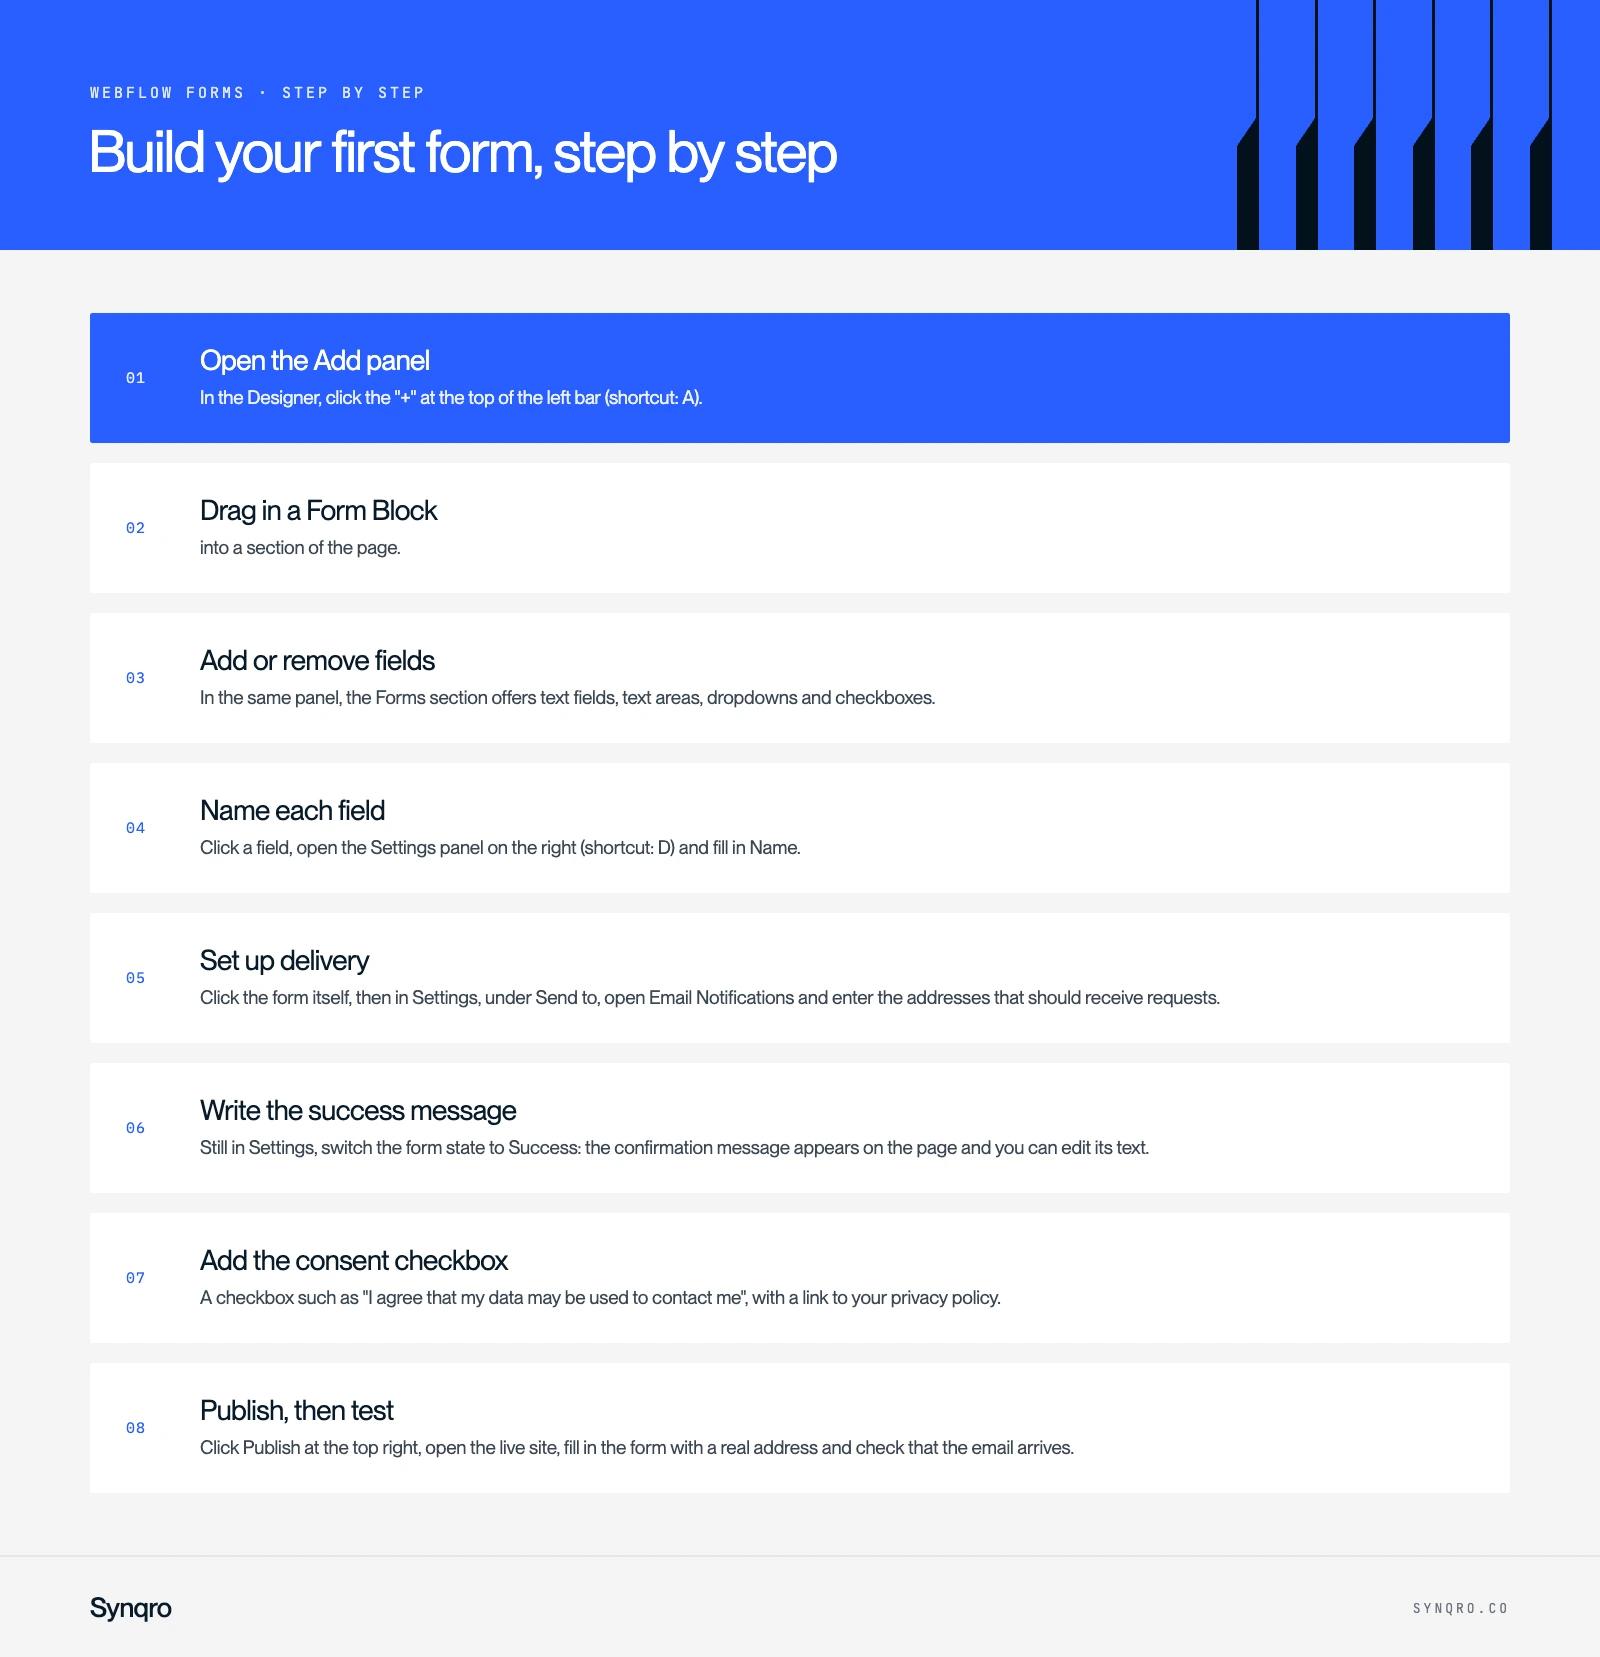
- Open the Add panel. In the Designer, click the "+" at the top of the left bar (shortcut: A).
- Drag in a Form Block into a section of the page. Webflow adds a Name field, an Email field and a submit button by default.
- Add or remove fields. In the same panel, the Forms section offers text fields, text areas, dropdowns and checkboxes. Drag them inside the form, above the button.
- Name each field. Click a field, open the Settings panel on the right (shortcut: D) and fill in Name. Tick Required for mandatory fields.
- Set up delivery. Click the form itself, then in Settings, under Send to, open Email Notifications and enter the addresses that should receive requests.
- Write the success message. Still in Settings, switch the form state to Success: the confirmation message appears on the page and you can edit its text. Then switch back to Normal.
- Add the consent checkbox. A checkbox such as "I agree that my data may be used to contact me", with a link to your privacy policy.
- Publish, then test. Click Publish at the top right, open the live site, fill in the form with a real address and check that the email arrives.
If the email does not arrive, the "My form is not working" section below lists the causes in the order you should check them.
Limits by Webflow plan
Forms depend on the site plan, not the workspace plan. The figures below come from Webflow's pricing page, checked on 9 November 2026.
| Site plan | Form submissions | File uploads |
|---|---|---|
| Starter (free) | 50 submissions | No |
| Basic ($15/month, billed yearly) | Unlimited | No |
| Premium, formerly CMS ($25/month, billed yearly) | Unlimited | Yes, 10 MB per file |
| Enterprise | Custom quote | Per contract |
For uploads, each upload button accepts one file. Storage is free up to 10 GB, then billed at $0.50 per GB per month, capped at 100 GB. Executables and archives such as .exe or .tar are rejected. By default, only users logged in to Webflow can open received files, which protects CVs and client documents. Plan details are in our article on Webflow pricing.
Sending leads to your CRM
A lead that sits in an inbox gets lost. There are three ways to get it into a CRM.
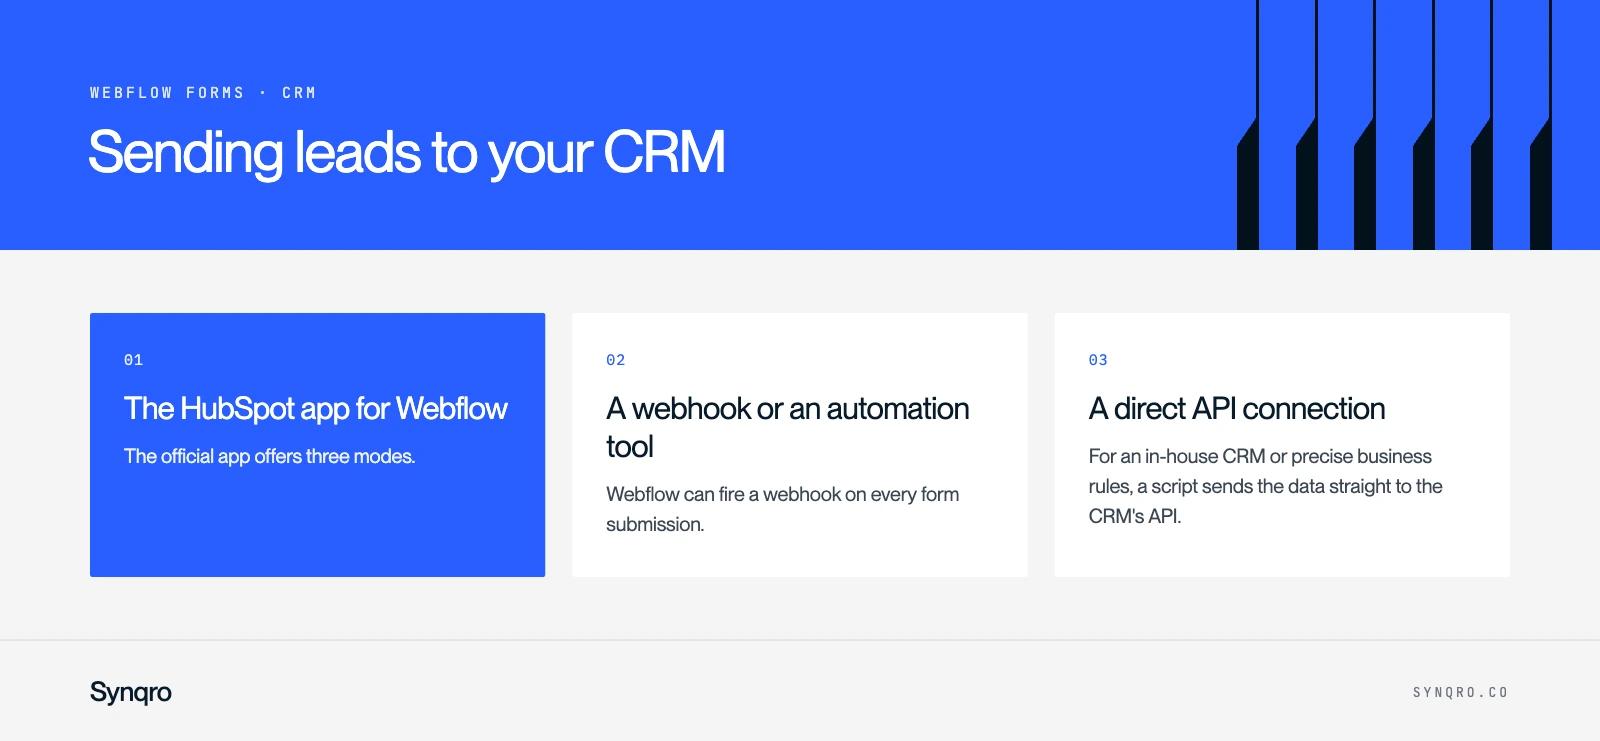
1. The HubSpot app for Webflow
The official app offers three modes. The iframe displays a HubSpot form as is. The developer embed renders the HubSpot form as HTML you can style in Webflow, but requires a Marketing Hub Professional or Enterprise subscription. The "Webflow form" mode keeps your native form and sends it to HubSpot.
That last mode has one hard constraint: it only handles text fields. Dropdowns, checkboxes and radio buttons do not go through. You also need to turn on non-HubSpot form collection in HubSpot and give your Webflow fields exactly the same names as in HubSpot. For a wider comparison of the two tools, see Webflow vs HubSpot.
2. A webhook or an automation tool
Webflow can fire a webhook on every form submission. Zapier, Make or n8n pick it up and create the contact in Pipedrive, Salesforce, Brevo or a Google Sheet. It is the most flexible option: every field type goes through, and you can enrich or route the lead before saving it.
3. A direct API connection
For an in-house CRM or precise business rules, a script sends the data straight to the CRM's API. It takes longer to set up, but there is no middleware left to pay for or monitor.
Our default on a B2B site: native form, webhook to the CRM, and two hidden fields that carry the lead's source (UTM parameters and the Google Ads click ID). Without them, there is no way to know which campaign produced which meeting.
Stopping spam without losing leads
Webflow offers four protections, documented in its help center.
- Cloudflare Turnstile, bot blocking. Turn it on in Site settings, Apps & Integrations. It analyses visitor behaviour and applies to every form on the site.
- Cloudflare Turnstile, spam filtering. Same place. It checks the submitted content.
- The reCAPTCHA field. Effective, but it adds a step for visitors and advanced bots get around it.
- The honeypot field. A hidden field that only bots fill in. It needs a little custom code.
We turn on Turnstile everywhere, and add the honeypot on heavily targeted sites. reCAPTCHA comes last, because it costs submissions from real visitors.
Turning on Turnstile, step by step
- From the Webflow dashboard, open the Site settings.
- Click the Apps & Integrations tab.
- Scroll down to the Cloudflare Turnstile spam protection block and turn on bot blocking and spam filtering.
- Republish the site. Nothing changes online until you do.
Measuring form conversions
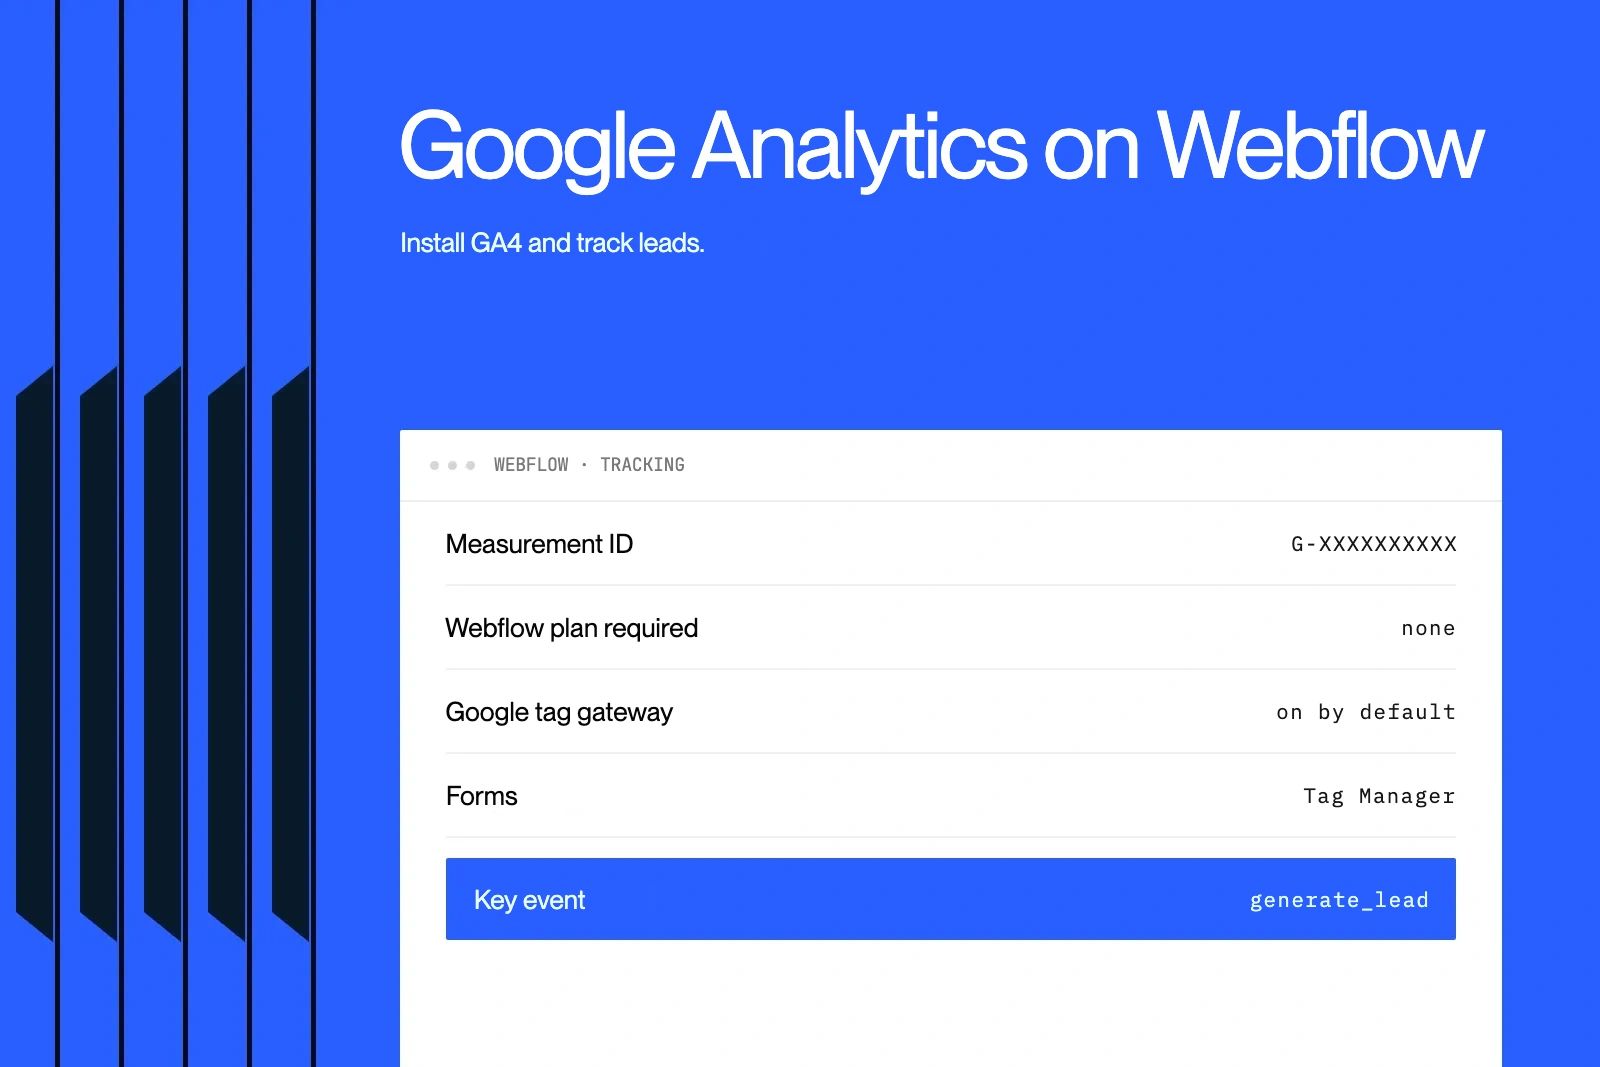
A form you do not measure cannot be improved. The most reliable method on Webflow: fire an event when the success message appears, through Google Tag Manager. That event becomes a key event in GA4 and a conversion in Google Ads.
Installing GA4 and tracking leads is covered step by step in our guide to Google Analytics on Webflow.
On the GDPR side, the form must say what the data is used for and link to the privacy policy. Tracking tags, for their part, wait for consent. Our guide to a GDPR-compliant Webflow site covers both points.
Mistakes that cost leads
- Too many fields. To book a meeting, name, email, company and need are enough. Every extra field must help qualify the lead, otherwise it adds friction.
- An empty success message. "Thank you" does not say what happens next. State your response time or offer a time slot.
- Notifications sent to one person only. When that person is away, the lead waits.
- No test after publishing. Submit a real form from the live site and check it reaches the CRM.
The form is only one part of conversion. The page around it matters just as much: our CRO method and our Webflow landing page guide cover the rest. On the Qobra website, leads were multiplied by 3.
My form is not working: fixes
These are the issues we hear about most, with the check to run for each. Always start with the first test: it tells you whether the problem is the form or the email.
The deciding test
Submit the form from the published site, then open Site settings, Forms tab. If the response is there, the form works: only the notification email is blocked. If it is not, the submission itself is failing.
The response is saved, but the email never arrives
- Check your spam folder. Add no-reply@webflow.com, no-reply@webforms.io and no-reply-forms@webflow.com to your allowed senders.
- Check the notification address in Settings, under Send to. One typo is enough to block everything.
- Avoid generic addresses (info@, contact@), which get filtered more often. Test with a personal address to compare.
- Republish after every change. A setting changed in the Designer only applies once published.
Nothing is saved
- Is the button a real submit button? It must be the form's Submit button, not a button or link added next to it.
- Is a required field hidden? A field marked Required but hidden blocks the submission. Check it in the Navigator.
- Is the submission going somewhere else? If a URL was entered in the Action field, responses go to another tool and Webflow receives nothing.
- Are you testing from the Designer? Only the published site actually sends.
Key takeaways
- The Basic plan is enough for unlimited forms. The Premium plan becomes necessary as soon as you need to receive files.
- A native form connected to the CRM by webhook is the most flexible choice. The HubSpot app works if all your fields are text fields.
- Turnstile takes two clicks to turn on and should be on from launch day.
- Measure the success message, and carry the lead's source in hidden fields.
If you want a site where every form feeds your sales pipeline directly, see how our Webflow team works.
Frequently asked questions
In the Designer, open the Add panel and drag the Form block onto the page. Add your fields, give each one a clear name, write the success message, then publish. Responses arrive in the site settings, Forms tab.