Article
Google Analytics on Webflow: install GA4 and track leads
Webflow9 min read

James BrunettoCo-fondateur & CEO
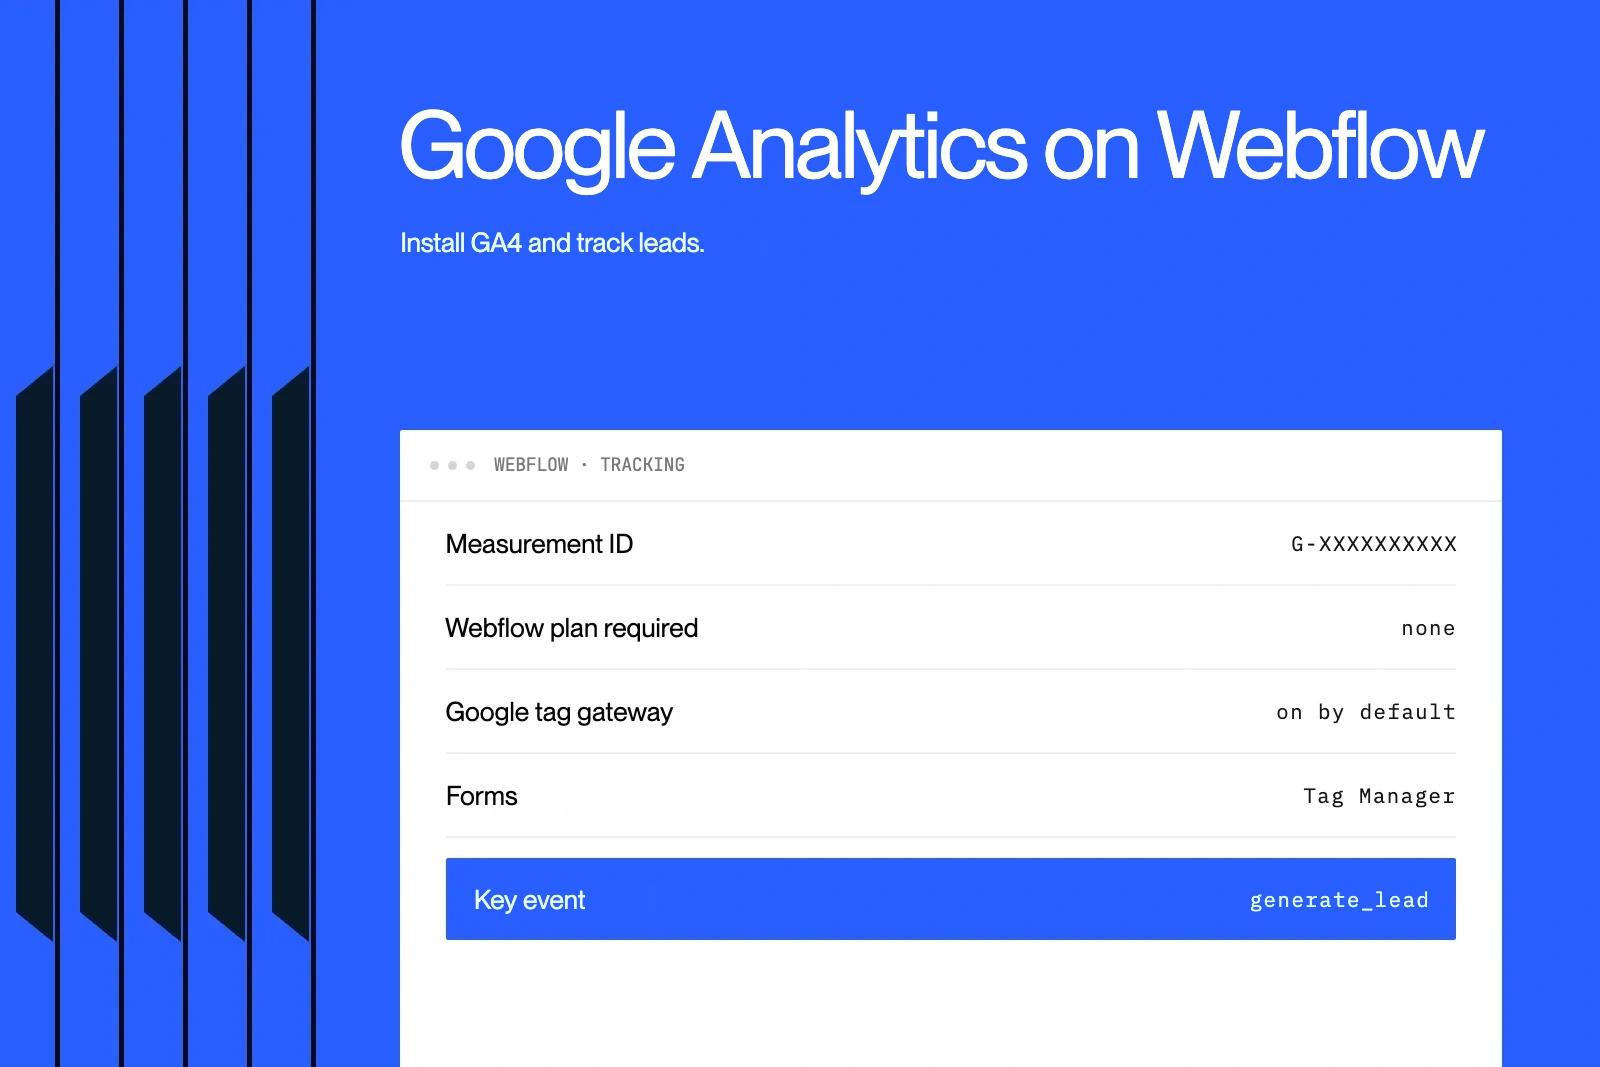
To install Google Analytics 4 on Webflow, you paste your "G-" measurement ID into the site settings, then publish. The real work starts after that: respecting consent, measuring forms and tying every lead to its source.
Explore this post with…
In short: Webflow's native Google Analytics integration is free and needs no paid plan. It now runs through the Google tag gateway, which sends data from your own domain and holds up better against ad blockers. Our take: on a B2B site, GA4 alone is not enough. You need Google Tag Manager to track forms, and clean consent management to stay GDPR-compliant.
Before you start
This guide is written for someone who has never set up Google Analytics. You need a Google account, Designer or admin access to your Webflow site, and about thirty minutes. Six words come up often:
| Word | What it means |
|---|---|
| Property | The "folder" that groups a site's statistics in Google Analytics |
| Data stream | The connection between that property and your site |
| Measurement ID | The code starting with "G-" that links your site to the property |
| Event | A measured action: page view, click, form submission |
| Key event | An event you consider important, such as a contact request (formerly a "conversion") |
| Consent | The visitor's agreement, given in the cookie banner, without which tracking cannot start |

Install GA4 on Webflow in 4 steps
The steps follow Webflow's official documentation.
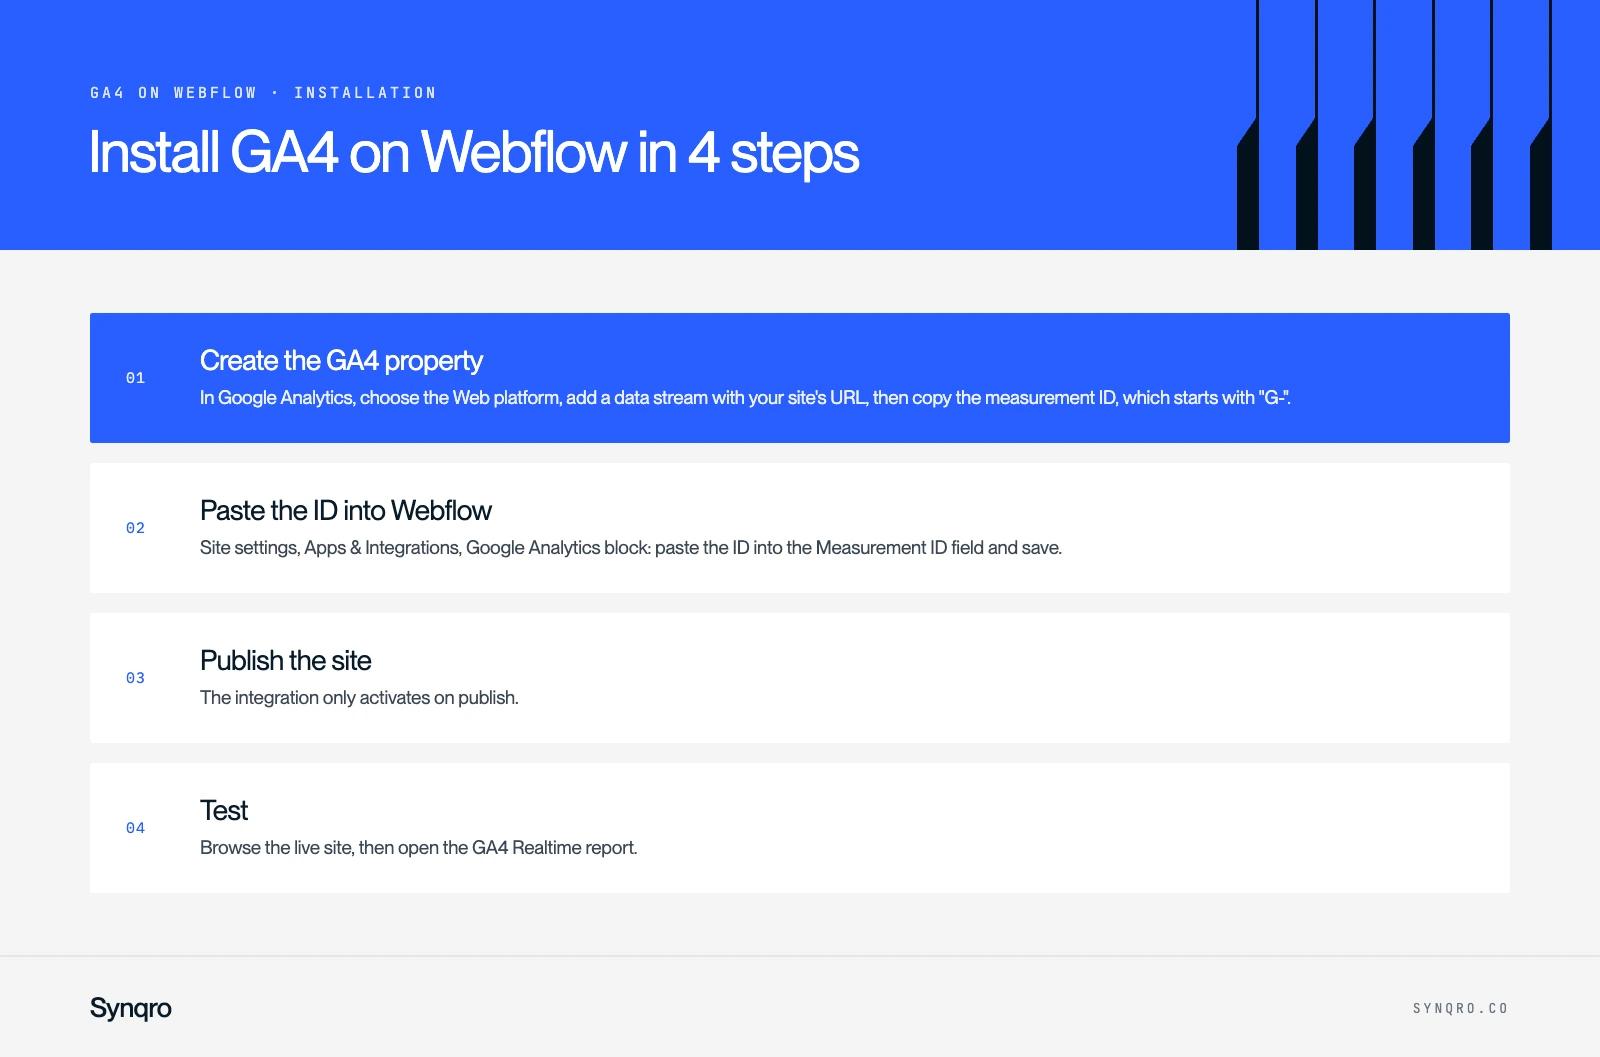
- Create the GA4 property. In Google Analytics, choose the Web platform, add a data stream with your site's URL, then copy the measurement ID, which starts with "G-".
- Paste the ID into Webflow. Site settings, Apps & Integrations, Google Analytics block: paste the ID into the Measurement ID field and save.
- Publish the site. The integration only activates on publish.
- Test. Browse the live site, then open the GA4 Realtime report. Standard reports can take a day to fill up.
Step 1 in detail: create the property
- Go to analytics.google.com and sign in with your Google account.
- Click the gear icon at the bottom left (Admin), then Create and Property.
- Give it a name (for example "Company website"), choose your time zone and currency, then answer the questions about your business.
- At the data collection step, choose Web, enter your site's address and a stream name, then confirm.
- Google shows your measurement ID at the top right of the stream screen. Copy it: that is what goes into Webflow.
Steps 2 and 3 in detail: paste the ID and publish
In Webflow, open the site dashboard, click Site settings, then the Apps & Integrations tab. Paste the ID into the Measurement ID field of the Google Analytics block, click Save changes, then publish the site from the Designer with the Publish button at the top right. Without publishing, nothing is measured.
Step 4 in detail: check that it works
Open your site in a new tab, ideally in a private window with no ad blocker, and accept the cookies. In Google Analytics, open Reports, then Realtime: your visit should appear within a minute. If it does, the installation is correct.
The Google site tools for Webflow app does the same from the Designer and also connects Tag Manager and Search Console. It is optional.
One rule not to forget: install the Google tag in one place only. If it is both in the integration and in the head code, every visit is counted twice.
The Google tag gateway, on by default
Webflow's native integration now runs through the Google tag gateway. Google tags are served from your own infrastructure, first-party, instead of a Google domain. The result: less data lost to blockers.
On a Webflow-hosted site, you only need to republish to turn it on if the native integration is already in place. Google reports, from its internal data, an average 14% increase in measured conversions for advertisers who adopted it. That is Google's figure, to be checked on your own account. Sites exported and hosted elsewhere have to set it up by hand.
If your Google tag is currently pasted as custom code, the move is worth it: put the ID in the integration panel, remove the old snippet while keeping your conversion events, test on the .webflow.io staging domain, then publish.
Consent and GDPR
In the EU, GA4 audience measurement waits for the visitor's consent. Webflow recommends setting up Google's advanced Consent Mode, or going through a Tag Manager container or a consent management platform (CMP).
Our usual setup: a CMP that runs the banner, connected to Google Consent Mode v2, and every tag loaded through Tag Manager. The banner, cookie categories and their effect on SEO are covered in our guides to Webflow cookies and to a GDPR-compliant Webflow site.
Tracking forms and leads
This is the weak spot of the basic setup. GA4 counts page views, scrolling and outbound clicks, but it cannot reliably tell that a Webflow form was submitted: the form sends without reloading the page.
The method we use:
- In Tag Manager, a trigger on the display of the form's success message. It only fires if the submission succeeded.
- A GA4 event tag (for example generate_lead) with the form name as a parameter.
- That event marked as a key event in GA4. Google renamed GA4 "conversions" to "key events" in 2024.
- A Google Ads conversion on the same trigger, if you run ads.
Step by step in Tag Manager
On Webflow, a form's confirmation message carries the w-form-done class. That is what you watch.
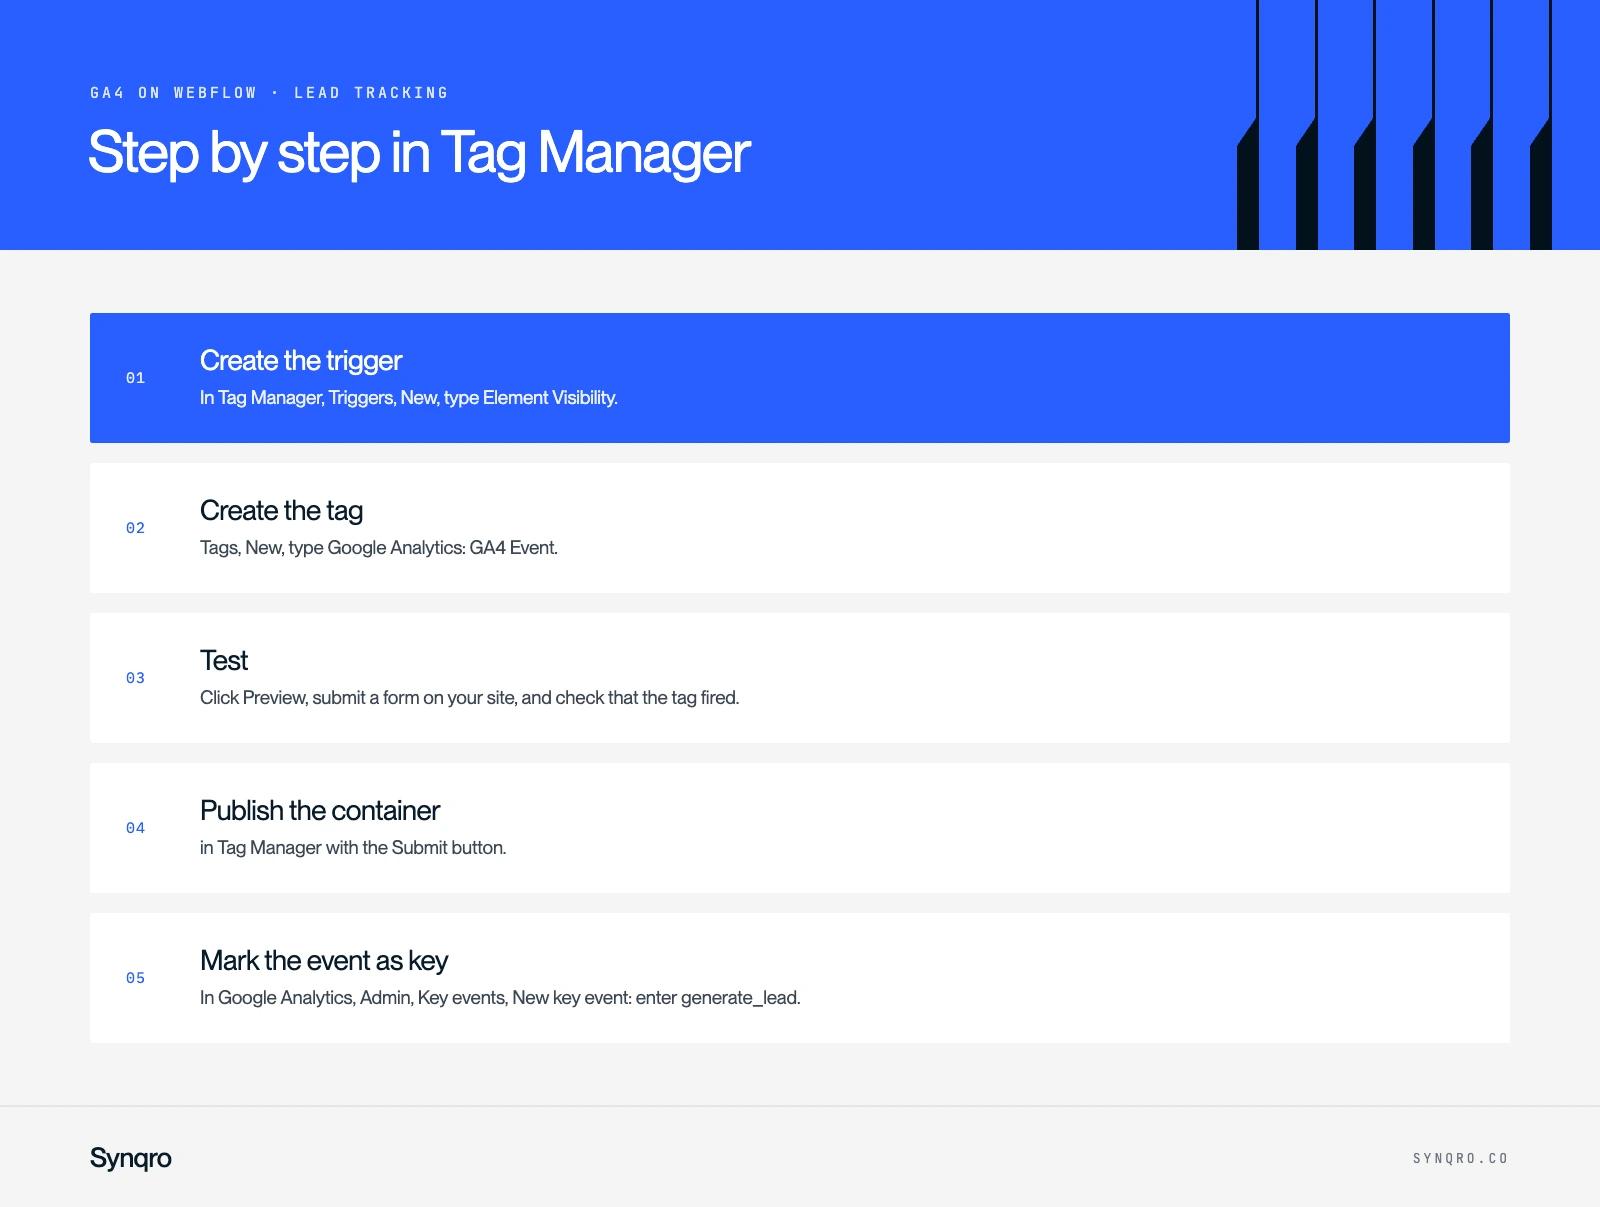
- Create the trigger. In Tag Manager, Triggers, New, type Element Visibility. Selection method: CSS Selector, value .w-form-done. Tick "Observe DOM changes", because the message appears after submission without a page reload.
- Create the tag. Tags, New, type Google Analytics: GA4 Event. Enter your measurement ID, the event name generate_lead, and attach the trigger from step 1.
- Test. Click Preview, submit a form on your site, and check that the tag fired.
- Publish the container in Tag Manager with the Submit button.
- Mark the event as key. In Google Analytics, Admin, Key events, New key event: enter generate_lead. Figures show up in reports within 24 to 48 hours.
To go further with Tag Manager, see our Google Tag Manager guide. To track all the way to revenue, add hidden fields that carry the lead's source into the CRM: that is how you know which campaign produced which sale.
To connect the form itself to your CRM and block spam, see our guide to Webflow forms.
For a Webflow e-commerce site, it is simpler: product views, add-to-carts and purchases are tracked automatically, provided you also turn on e-commerce tracking in GA4. See our article on Webflow e-commerce.
GA4 or Webflow Analyze?
Webflow sells two measurement add-ons built into the Designer. The prices below come from Webflow's pricing page, checked on 9 November 2026.
| Tool | Starting price | What it does best |
|---|---|---|
| Google Analytics 4 | Free | Acquisition, campaigns, conversions, link with Google Ads |
| Webflow Analyze | $9/month, 2,000 sessions | Quick reading of pages and clicks without leaving Webflow |
| Webflow Optimize | $299/month, 25,000 page views | A/B testing and page personalisation |
Our view: GA4 remains the reference as soon as you run ads or have a lead target. Analyze is a comfortable extra for the team editing the site. Optimize pays off when traffic is high enough for A/B tests to give clear results. Our CRO method explains when to test.
The mistakes we see most
- The tag installed twice, in the integration and as custom code. Page views and events are counted twice.
- No internal traffic filter. Your team inflates the numbers, especially on a small site.
- Forms not measured. You see traffic, never leads.
- The .webflow.io domain measured with production. Staging tests mix with real visits.
- No link with Search Console. You lose the queries that bring visitors in. Our guide to Webflow SEO settings covers that connection.
Clean measurement changes decisions and makes results readable: on the Qobra website, traffic was multiplied by 16 and leads by 3.
GA4 shows nothing: common causes
Don't panic, the cause is almost always one of these.
- The site was not republished after adding the ID. Republish.
- You have an ad blocker. Test in a private window with no extensions.
- You declined cookies. Without consent, tracking does not start. Accept them for your test.
- The ID is wrong. It must start with "G-" and match the stream's ID exactly, capitals included.
- You are looking at the wrong report. Standard reports take up to 24 hours to fill up. For a test, only Realtime counts.
Exclude your own visits
So your team does not inflate the numbers:
- In Google Analytics, Admin, Data streams: click your stream.
- Open Configure tag settings, click Show all, then Define internal traffic.
- Create a rule with your office IP address (search "what is my IP" on Google to find it).
- Go back to Admin, Data settings, Data filters: set the "Internal traffic" filter to Active.
Key takeaways
- Installing GA4 on Webflow takes five minutes: the "G-" ID in Apps & Integrations, then publish.
- The Google tag gateway is on by default with the native integration. Republish if your site already used it.
- Consent goes through a CMP and Google Consent Mode v2.
- Forms are measured with Tag Manager, on the display of the success message.
Want a Webflow site where every lead is tied to its source, from first visit to signed deal? See how our Webflow team works.
Frequently asked questions
Create a GA4 property and copy the measurement ID that starts with "G-". In Webflow, paste it into Site settings, Apps & Integrations, Google Analytics block, save, then publish the site.